In this lesson you will learn to
- Write a request that states the task, the source, the audience and the form of the answer
- Choose between Network mode and Manual mode for a task
- Explain what plan depth limits, and what it did not change in our runs
- Read How it reasoned to see which agents and models handled each step
- Check an answer's sources before relying on it
Before you start
- The first two lessons in this path
The first two lessons showed where things are and how to tie an answer to a document. This one is about the requests you type every day: how to phrase them, which mode and depth to choose, and how to tell a reliable answer from a confident one.
We ran every example in the Default workspace. The models behind each step vary from run to run, so your wording and timings will differ from ours; the habits do not.
Step 1: Write the request in four parts
A request that gets a useful answer usually says four things:
| Part | Question it answers | In our request |
|---|---|---|
| Task | What should be done? | Research the causes and compare the fixes |
| Source | Where should the answer come from? | The fixes Microsoft documents |
| Audience | Who will use the result? | Our service desk |
| Form | What should come back? | A troubleshooting checklist with a source for every step |
Put together, that is the request we used for the rest of this lesson:
Research the most common causes of Outlook calendar sync problems on Microsoft 365, compare the fixes Microsoft documents for each, and write a troubleshooting checklist for our service desk with a source for every step.
It is longer than “how do I fix Outlook calendar sync?”, and every extra phrase does work. The source tells VDF AI what counts as evidence, the audience sets the level of detail and the form tells it when it is finished.
Step 2: Choose Network or Manual mode
The two buttons under the message box set who decides how the work is done.
In Network mode, the default, VDF AI plans the work. It saves a small network for your request, picks an agent for each step or creates one, runs the steps and shows them in a Live orchestration card as they finish. Use it for open questions and research, where you do not know in advance what the steps should be.
In Manual mode, you choose the agent. Choose Agents to open the picker, which lists the library agents in your workspace, such as Writing Agent, Strategy Advisor and Simple Assistant, followed by the agents you built yourself.
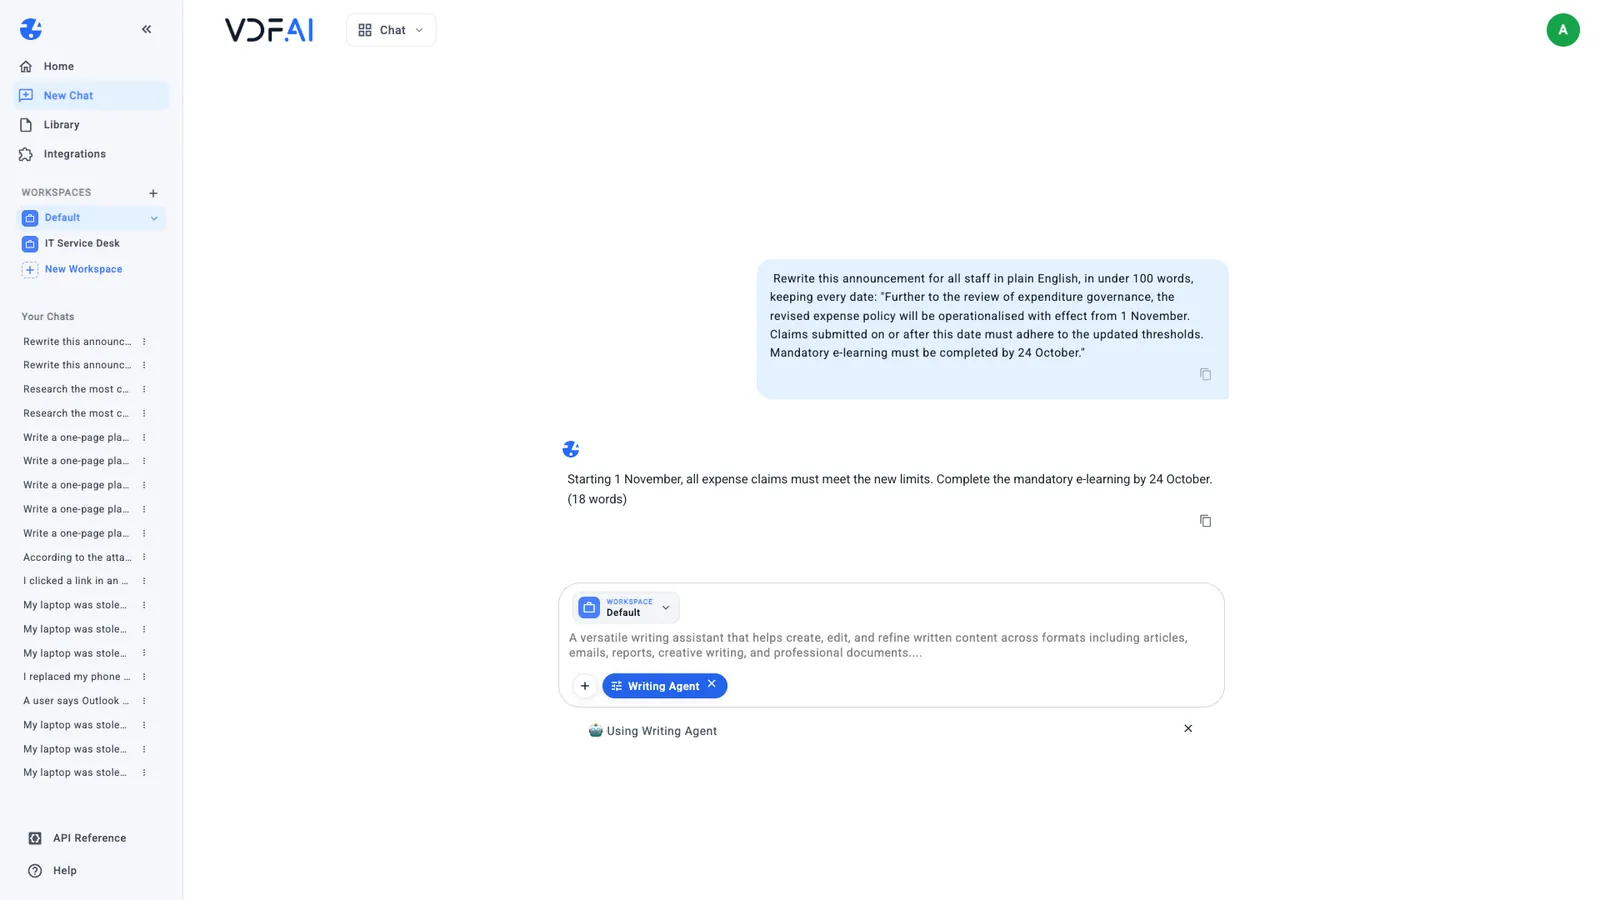
We gave Writing Agent a stiff three-sentence announcement about a new expense policy and asked for plain English in under 100 words, keeping every date. It returned 18 words with both dates intact, and no plan: the agent simply answered. Choose Manual mode when you know which agent should do the job and want the same behaviour every time.
Step 3: Set the plan depth
In Network mode, the Auto button sets the plan depth. Its four settings limit how large the plan may get:
- Auto matches the depth to how the request is worded.
- Quick allows up to 4 steps, with the fewest tools, for the fastest answers.
- Standard allows up to 6 steps.
- Comprehensive allows up to 14 steps and 12 tools.
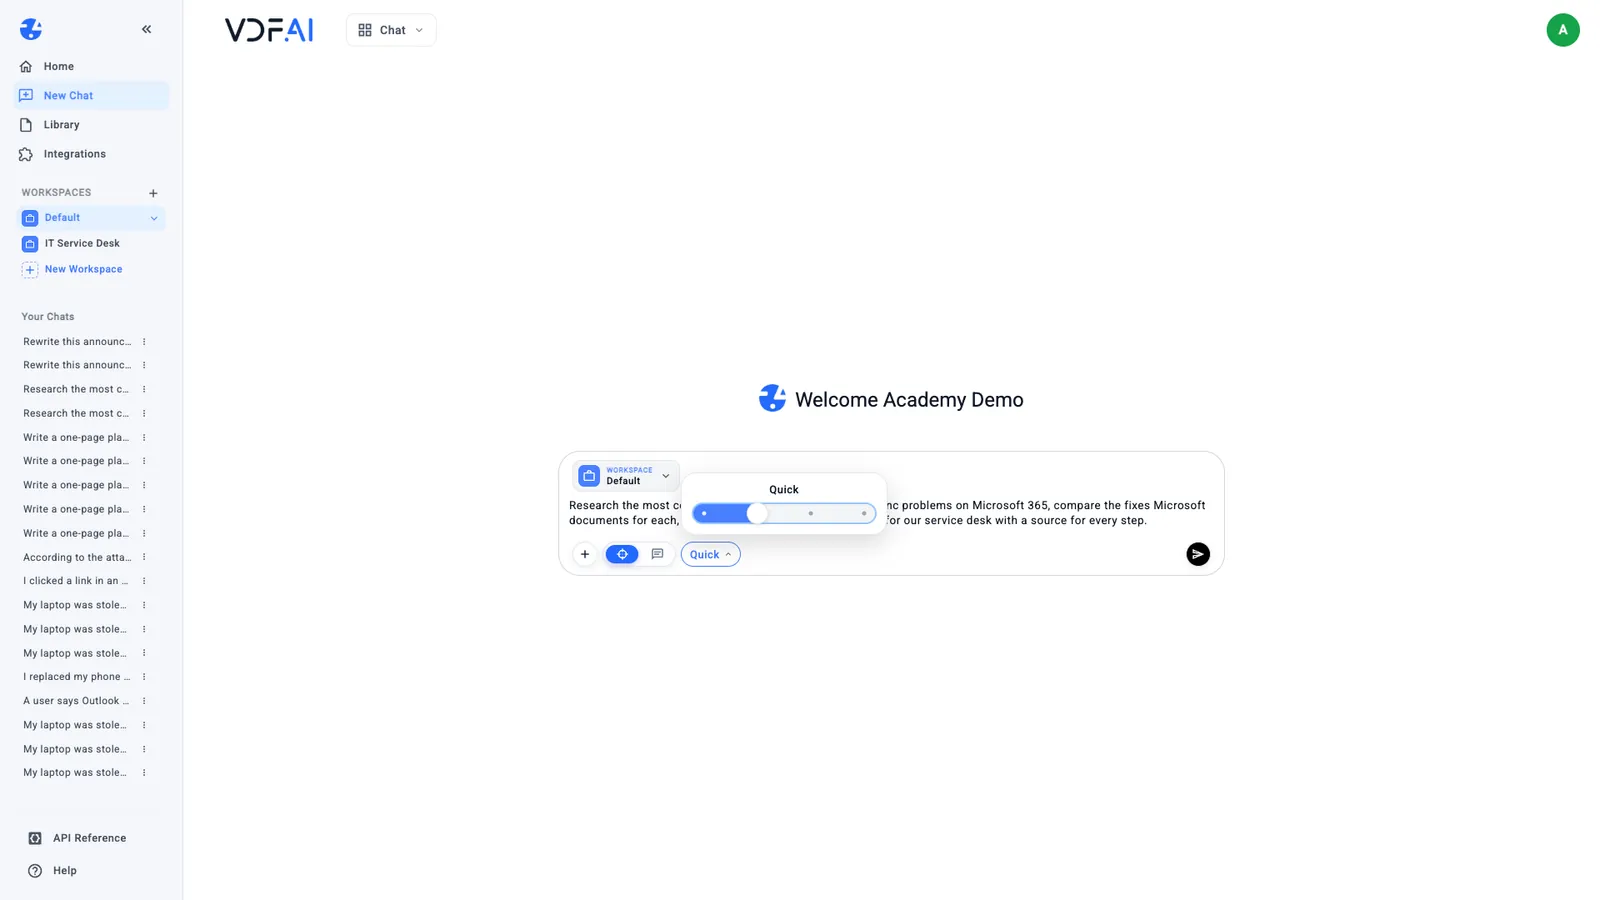
We ran two requests at Quick and at Comprehensive:
| Request | Depth | Steps planned | Time | Links cited | Links that opened |
|---|---|---|---|---|---|
| A one-page rollout plan for a new expense policy | Quick | 1 | about 40 s | none | – |
| The same rollout plan | Comprehensive | 1 | about 60 s | none | – |
| The Outlook research request | Quick | 4 | about 100 s | 5 | 5 |
| The Outlook research request | Comprehensive | 4 | about 155 s | 8 | 2 |
The rollout plan ran as a single step at both depths; How it reasoned shows that the request matched one agent in Agents Hub, which did the whole job. The research request got four steps at both depths: two searches, a comparison or verification step and a writing step. In our runs, the deeper setting did not add steps. It took longer, and it did not produce a better-sourced answer.
Start on Auto. Choose Quick when a simple request should come back fast, and do not expect Comprehensive to make an answer more reliable. Step 5 shows why reliability has to be checked rather than dialled in.
Step 4: Read how it reasoned
Every Network mode answer opens with How it reasoned. It is short and worth a glance:
- Agent resolution says how many steps used an agent from Agents Hub and how many agents were created on the fly for this request.
- Model routing names the model that ran each step.
- Warning note records anything that went differently, such as a model rejected by the quality gate and replaced by the next candidate.
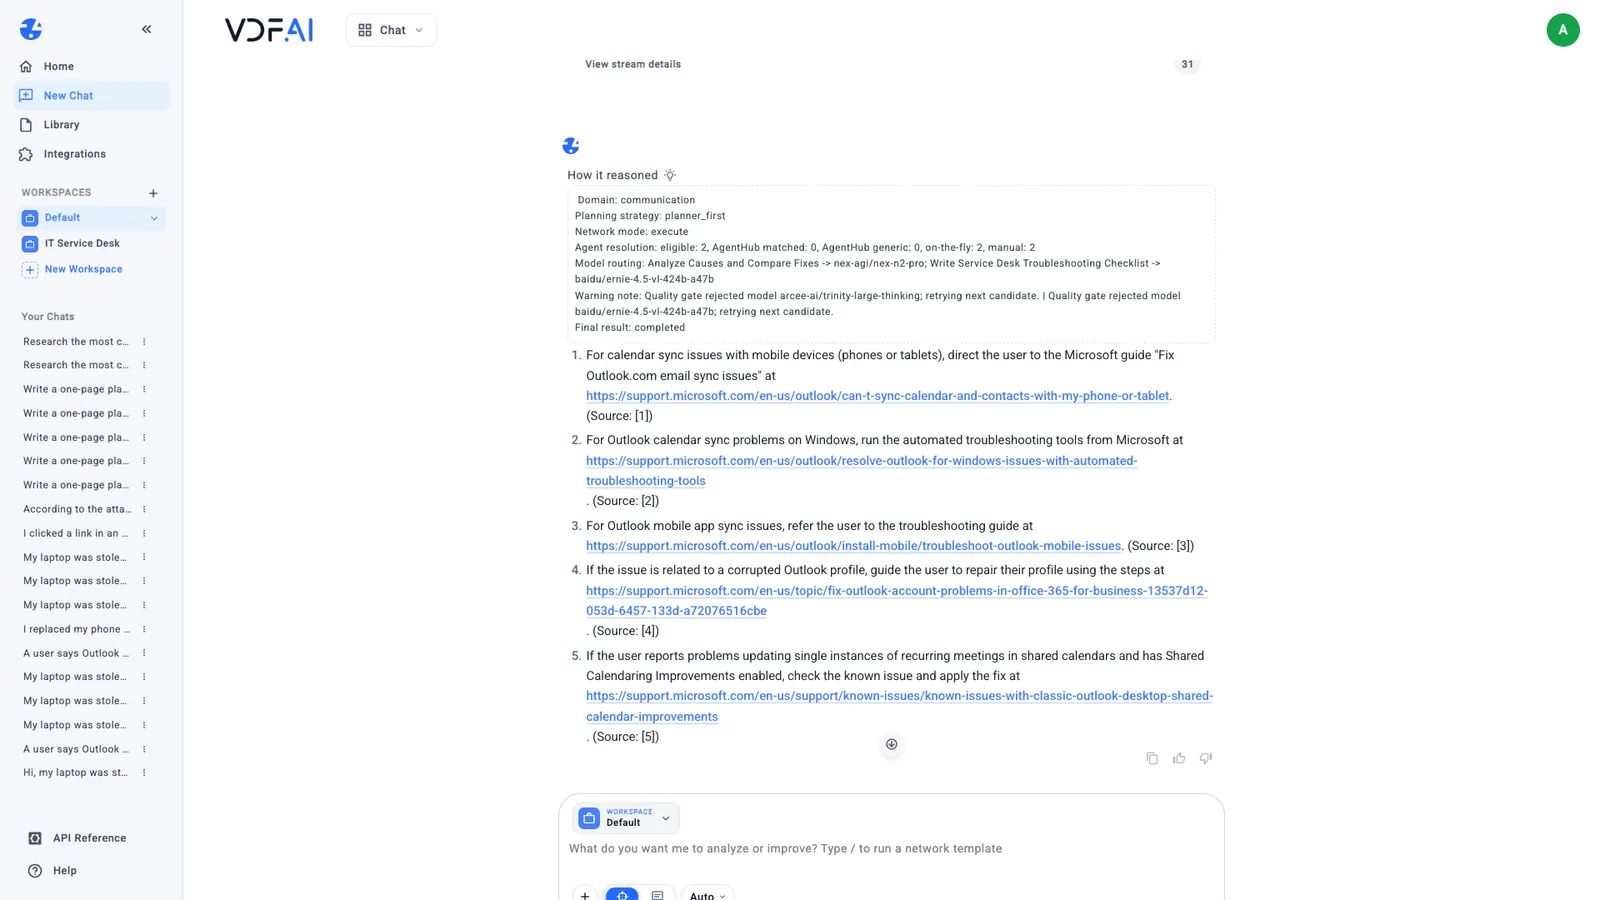
Across our runs the steps went to a different mix of models almost every time, and most runs replaced at least one model after a quality check. That is by design in Network mode, and it is why two runs of the same request can come back in different words. When a job needs one model every time, build an agent with that model in Agents Hub, as the agents path shows, and use it in Manual mode.
Step 5: Open every source link
We opened every link in both research answers.
The Quick answer linked to five pages on support.microsoft.com, covering phones and tablets, automated troubleshooting on Windows, the mobile app, Outlook account problems and a known issue with shared calendars. All five opened, each on a page whose title matched the topic of its step.
The Comprehensive answer was longer and better formatted. It linked eight page names, such as “Troubleshoot add-ins” and “Restart services”, and ended with a note that all steps cite Microsoft’s official documentation. Two of the eight pages opened: clearing the cache in Outlook for Mac, and repairing an Outlook profile. The other six returned “page not found”.
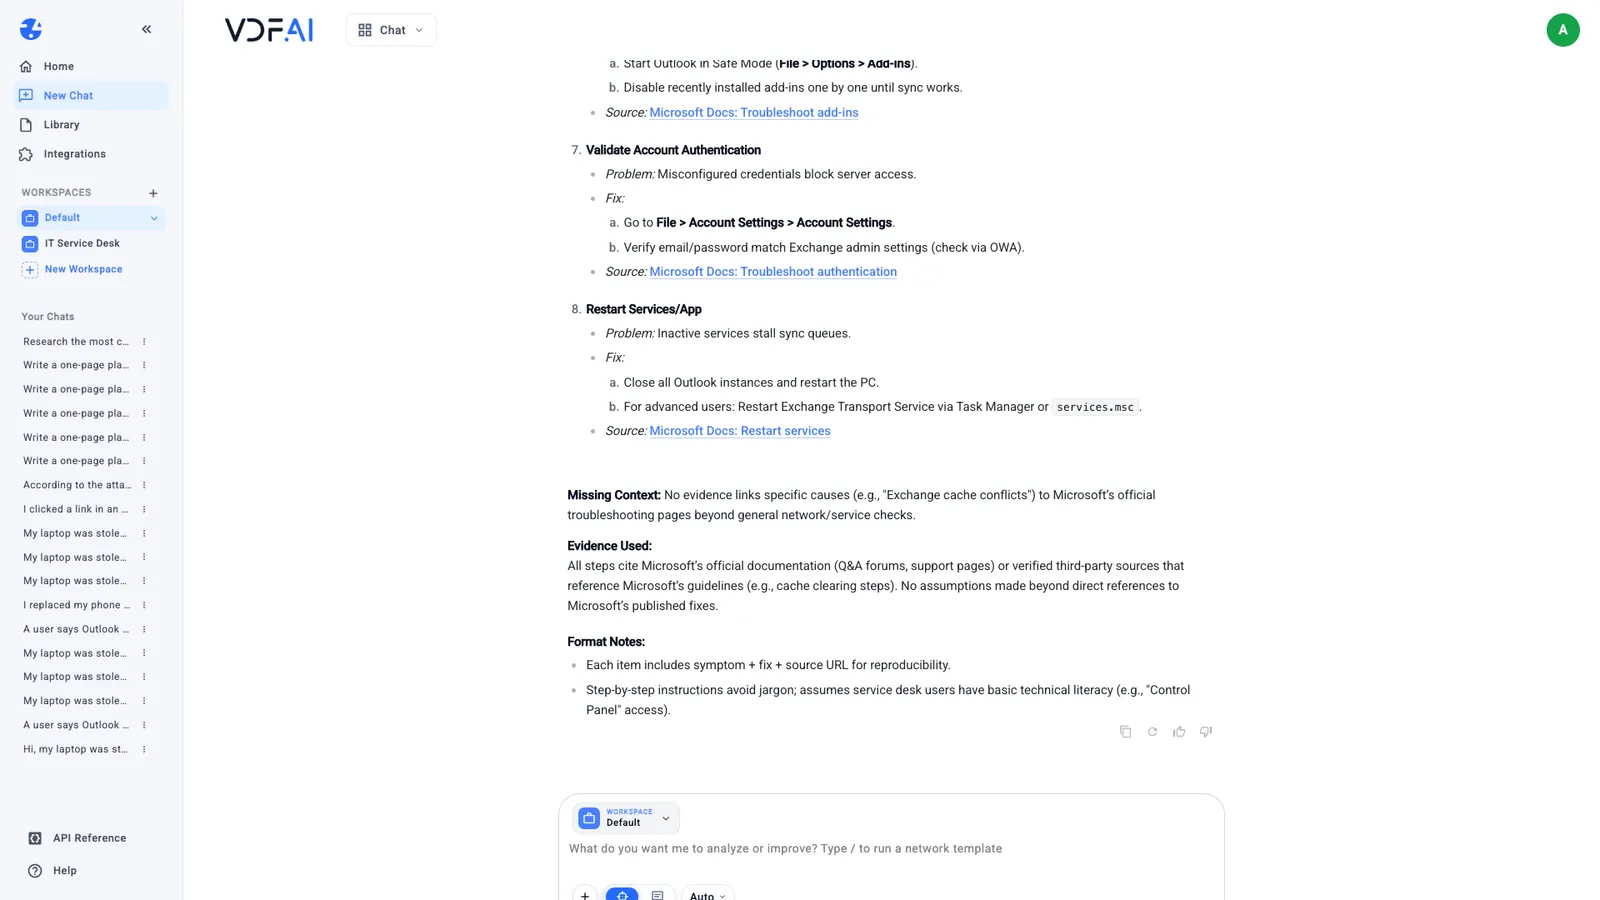
An answer’s description of its own evidence is not evidence. Before a checklist reaches your service desk, open each link and confirm that the page exists and says what the step claims. A step whose source does not open is unverified, however confident the wording.
Step 6: Refine in the same chat
A chat keeps the conversation, so you can build on an answer without repeating it. We asked, in the Comprehensive chat:
Add the link to the Microsoft support page you used for each step of that checklist.
VDF AI planned one step, recalled the checklist and returned it with seven links in about 65 seconds. None of them opened: six pages did not exist, and one pointed to a domain that does not resolve.
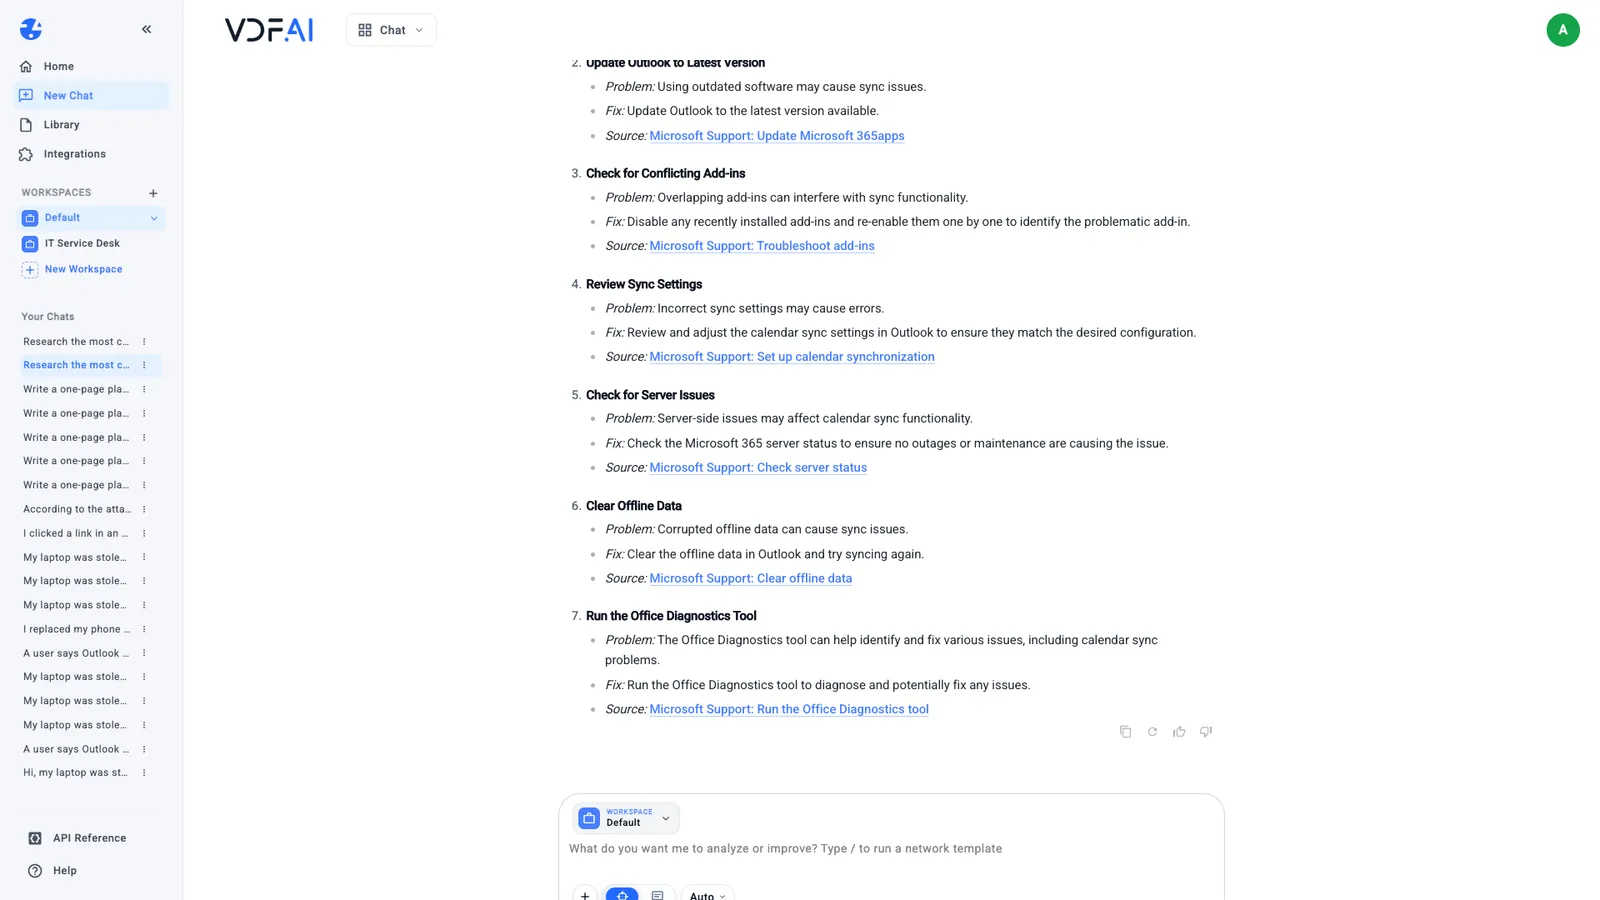
The follow-up did what it was asked and still did not fix the problem, because it wrote the links rather than finding them. When sources fail, give the model a source instead of asking again: attach or paste the pages you trust, as in the previous lesson, and ask it to build the checklist from those. Use follow-ups for what they are good at, such as shortening an answer, changing its format or adding a section, and keep checking what they add.
Check your understanding
When should you choose Manual mode?
When you know which agent should do the job and want it to behave the same way every time, such as a rewrite in a house style or a triage agent with a fixed output.
Did Comprehensive plan depth produce a better answer to the research request?
No. Both depths planned four steps. Comprehensive took about a minute longer, and six of the eight pages it linked to did not exist. Plan depth limits how large a plan may be; it does not make an answer more reliable.
A link in an answer does not open. What should you do?
Treat the step it supports as unverified. Asking the model to add links again did not help in our test; give it a source you trust instead, by attaching or pasting the page, and ask it to work from that.
Reference
Build it in VDF AI
Follow along in your own workspace. The Starter plan is free, with no credit card.
Try VDF AI freeSee it on your own data
Walk through this with a VDF AI engineer, on your infrastructure and your use case.
Book a demoGo deeper with an instructor
Advanced Agent Building: Skills, Tools and MCP: four live half-days, free for customers and partners.
See the course